Few desserts can rival the allure of a perfectly baked red velvet cookie. With its rich red color, subtle cocoa flavor, and soft, chewy texture, the Red Velvet Cookie is a treat that combines elegance with comfort. These cookies not only taste divine but also look stunning, making them ideal for holidays, Valentine’s Day, birthdays, or any occasion where you want to impress.
In this comprehensive guide, we’ll walk you through everything you need to know about baking Red Velvet Cookies from scratch—ingredients, tools, step-by-step instructions, tips for success, variations, and serving ideas. By the end, you’ll have all the confidence to bake a batch of cookies that taste as good as they look.
Ingredients for Red Velvet Cookies
To achieve that perfect chewy yet slightly crispy texture with the signature red velvet flavor, gather the following:
- 2 ½ cups all-purpose flour (measured correctly by spoon and level method)
- 2 tbsp unsweetened cocoa powder (Dutch-processed recommended for deep chocolate flavor)
- 1 tsp baking soda
- ½ tsp salt
- 1 cup unsalted butter (softened at room temperature)
- 1 ¼ cups granulated sugar
- ½ cup brown sugar (adds chewiness and moisture)
- 2 large eggs (room temperature)
- 2 tsp vanilla extract
- 2 tsp red food coloring (gel preferred for vibrant red without affecting texture)
- 1 tsp white vinegar (enhances the “red velvet” tang)
- 1 cup white chocolate chips (optional but highly recommended)
Kitchen Tools You’ll Need
While baking Red Velvet Cookies is simple, having the right tools will make the process smooth:
- Large mixing bowl
- Hand mixer or stand mixer
- Measuring cups and spoons
- Rubber spatula
- Baking sheets
- Parchment paper or silicone baking mat
- Wire cooling rack
Step-by-Step Instructions
Step 1: Prepare Dry Ingredients
In a medium bowl, whisk together flour, cocoa powder, baking soda, and salt. This ensures even distribution and prevents clumping later.
Step 2: Cream Butter and Sugars
In a large bowl, cream together butter, granulated sugar, and brown sugar until light and fluffy (about 2–3 minutes). This step incorporates air, giving cookies a soft texture.
Step 3: Add Wet Ingredients
Beat in eggs one at a time, followed by vanilla extract, red food coloring, and vinegar. Mix until well combined. The mixture should be creamy and vibrant red.
Step 4: Combine Wet and Dry Mixtures
Gradually add the dry ingredients to the wet mixture, mixing on low speed until just combined. Overmixing can lead to tough cookies, so stop once you see no streaks of flour.
Step 5: Fold in White Chocolate Chips
Using a rubber spatula, fold in the white chocolate chips for bursts of creamy sweetness in every bite.
Step 6: Chill the Dough
Cover the dough with plastic wrap and refrigerate for at least 30 minutes. Chilling prevents spreading and gives cookies a thicker, chewier texture.
Step 7: Shape and Bake
Preheat oven to 350°F (175°C). Scoop 1–2 tablespoon portions of dough, roll them into balls, and place on a prepared baking sheet with at least 2 inches of space between each cookie. Bake for 10–12 minutes or until edges are set but centers still look soft.
Step 8: Cool and Serve
Let cookies cool on the baking sheet for 5 minutes before transferring to a wire rack. Serve warm for gooey centers or cooled for a chewier bite.
Tips for Baking the Perfect Red Velvet Cookies
- Use gel food coloring – It gives a more vibrant red without altering the dough’s consistency.
- Don’t skip the vinegar – It adds a slight tang that enhances the classic red velvet flavor.
- Chill the dough – Essential for chewy, thick cookies.
- Do not overbake – Cookies continue baking from residual heat even after removal.
- Add mix-ins – Try dark chocolate chips, cream cheese chunks, or even chopped nuts for variations.
Variations of Red Velvet Cookies
- Cream Cheese Filled Red Velvet Cookies – Place a dollop of sweetened cream cheese filling inside each dough ball before baking for a molten surprise.
- Red Velvet Sandwich Cookies – Spread cream cheese frosting between two cookies for an indulgent dessert.
- Holiday Version – Add green sprinkles or crushed candy canes for Christmas-themed cookies.
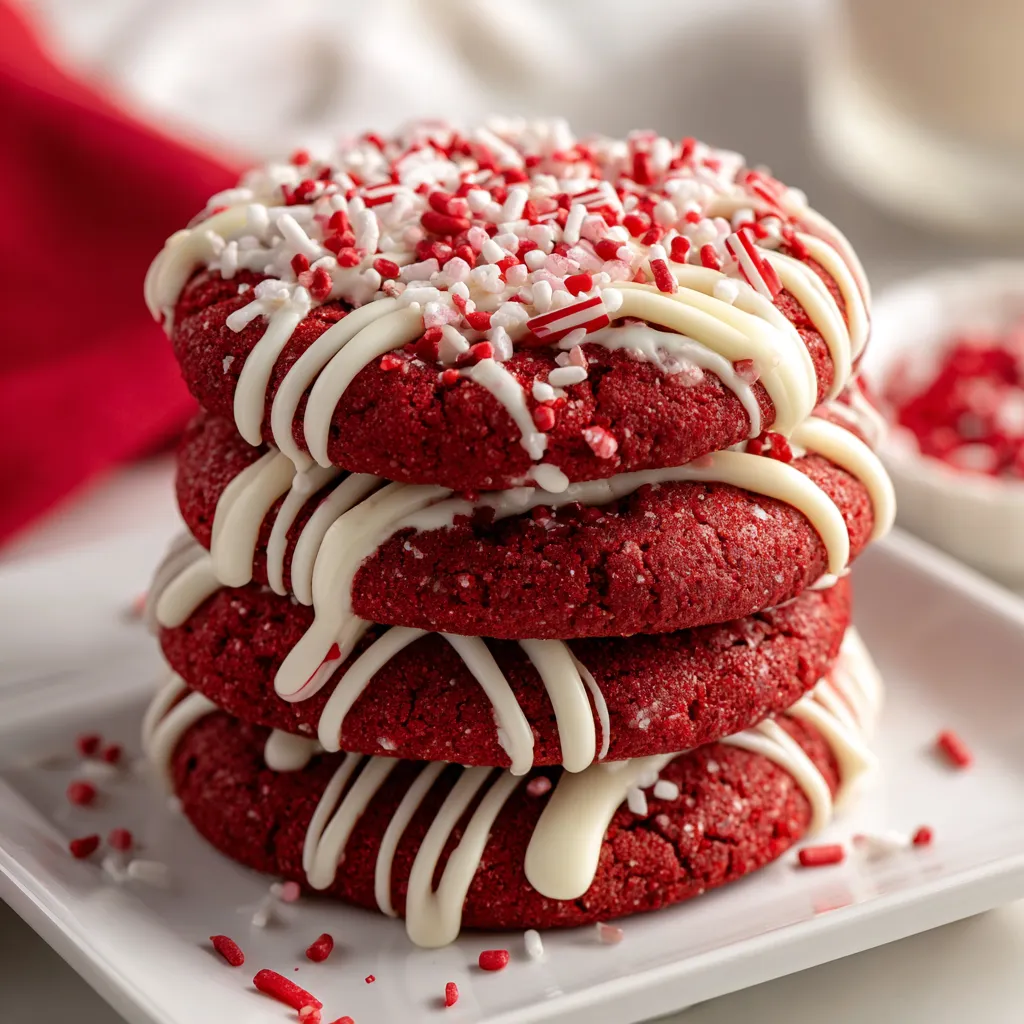
- Valentine’s Day Edition – Drizzle with melted white chocolate and decorate with heart-shaped sprinkles.
Serving Suggestions
- Pair with milk for a classic cookie experience.
- Serve with coffee or hot chocolate for a cozy afternoon treat.
- Make ice cream sandwiches using vanilla ice cream between two cookies.
- Gift idea – Package in decorative tins or clear bags tied with ribbon for a festive gift.
Storage and Freezing Tips
- Store baked cookies in an airtight container at room temperature for up to 5 days.
- Refrigerate dough for up to 3 days before baking.
- Freeze unbaked dough balls for up to 2 months—just bake from frozen, adding 1–2 minutes to baking time.
Nutritional Value (Approx. per cookie)
- Calories: 180
- Carbohydrates: 25 g
- Sugars: 15 g
- Fat: 8 g
- Protein: 2 g
- Fiber: 1 g
(Values will vary depending on portion size and added ingredients.)
Why You’ll Love This Recipe
Red velvet cookies are:
- Visually stunning – Their bold red color makes them stand out on any dessert table.
- Deliciously unique – The balance of cocoa, sweetness, and tang is irresistible.
- Versatile – Perfect for holidays, parties, or a simple weekend baking project.
- Easy to make – Minimal prep and simple steps mean even beginners can succeed.
Conclusion
If you’ve been searching for a cookie recipe that’s equal parts beautiful and delicious, Red Velvet Cookies are exactly what you need. Their rich red hue, soft and chewy texture, and subtle cocoa flavor make them the ultimate indulgence. Whether you enjoy them plain, filled, or dressed up for the holidays, these cookies will win hearts wherever they’re served.