Nothing says summer quite like a bowl of smooth, creamy ice cream. But among the countless flavors available, one combination always feels both classic and refreshing: Strawberry Swirl Ice Cream. This luscious frozen treat blends the rich creaminess of vanilla with the bright, fruity tang of fresh strawberries, creating a perfectly balanced dessert that delights both kids and adults.
Whether you’re enjoying it in a cone on a hot afternoon, serving it at a dinner party, or preparing a special homemade dessert for your family, Strawberry Swirl Ice Cream is versatile, beautiful, and always delicious. The best part? Making it at home is surprisingly easy, and you don’t even need an ice cream maker if you prefer the no-churn method.
In this guide, we’ll cover everything you need to know: the full recipe, detailed instructions, pro tips, variations, serving ideas, nutritional breakdown, and more. By the end, you’ll not only master this dessert but also fall in love with the art of making homemade ice cream.
Ingredients for Strawberry Swirl Ice Cream
Here’s what you’ll need to prepare this dreamy frozen dessert:
For the Vanilla Ice Cream Base
- 2 cups heavy whipping cream (chilled)
- 1 cup whole milk
- 3/4 cup granulated sugar
- 1 teaspoon pure vanilla extract
- Pinch of salt
For the Strawberry Swirl
- 2 cups fresh strawberries (hulled and chopped)
- 1/3 cup granulated sugar
- 1 tablespoon lemon juice (to balance the sweetness)
Optional Toppings & Mix-Ins
- Fresh sliced strawberries
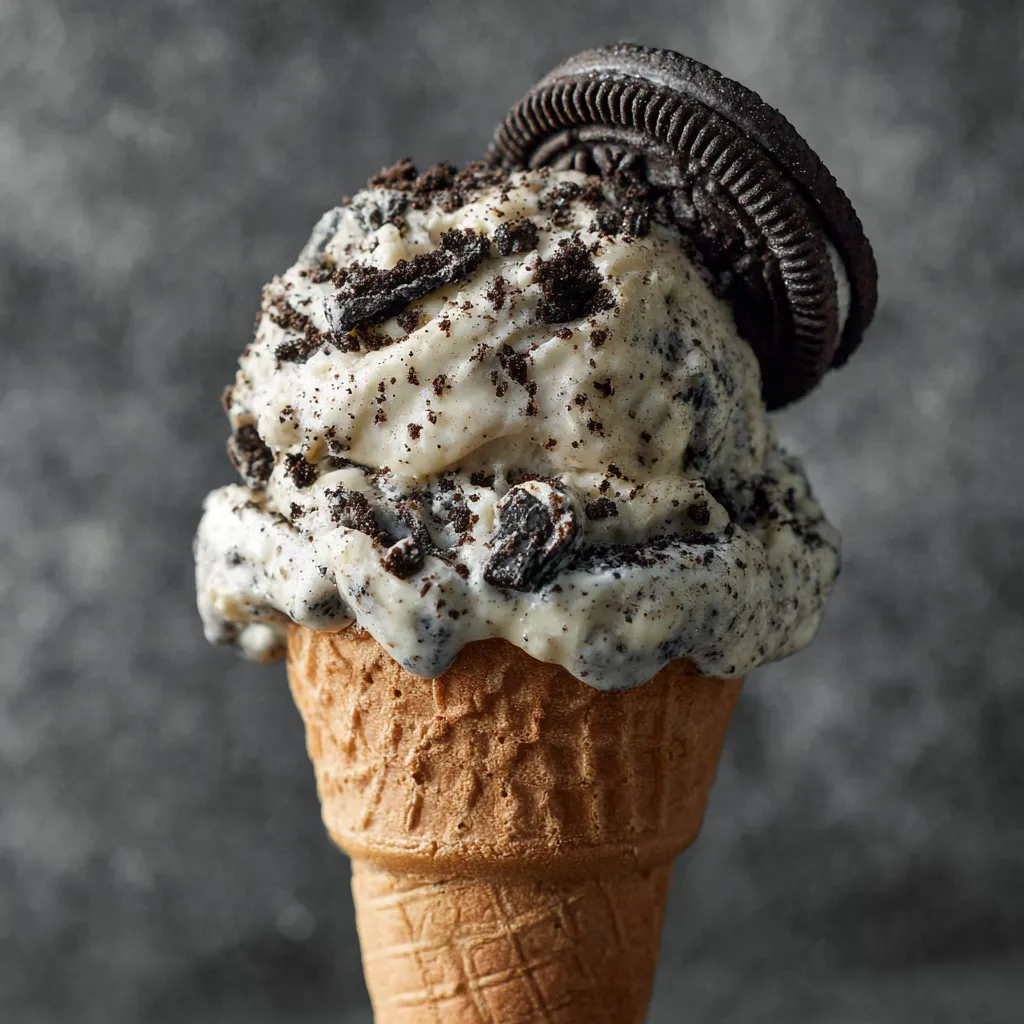
- Crushed cookies (graham crackers, shortbread, or Oreos)
- White chocolate chips
- Whipped cream
Kitchen Tools Needed
To make homemade ice cream, you’ll need:
- Medium saucepan
- Blender or food processor
- Fine mesh strainer (optional, for smoother strawberry sauce)
- Mixing bowls
- Whisk
- Ice cream maker (optional but recommended)
- Airtight freezer-safe container
- Spatula
No ice cream maker? Don’t worry — I’ll also show you how to make this recipe using the no-churn method.
Step-by-Step Preparation Instructions Homemade Strawberry Swirl Ice Cream
1: Make the Strawberry Swirl
- In a saucepan, combine chopped strawberries, sugar, and lemon juice.
- Cook over medium heat for 10–15 minutes until the strawberries break down into a syrupy sauce.
- Mash lightly with a fork or blend for a smoother texture.
- Allow the strawberry mixture to cool completely.
2: Prepare the Vanilla Ice Cream Base
- In a mixing bowl, whisk together heavy cream, milk, sugar, vanilla extract, and a pinch of salt until the sugar dissolves.
- Chill the mixture in the refrigerator for 30 minutes to enhance creaminess.
3: Churn the Ice Cream
- Pour the chilled mixture into your ice cream maker and churn according to the manufacturer’s instructions (usually 20–25 minutes).
- Once thick and creamy, transfer half the churned ice cream into a freezer-safe container.
4: Add the Strawberry Swirl
- Spoon some of the cooled strawberry sauce over the first ice cream layer.
- Add the remaining ice cream on top, then drizzle with more strawberry sauce.
- Use a spatula or knife to gently swirl the sauce into the ice cream base, creating beautiful marbled patterns.
5: Freeze and Serve
- Cover the container tightly and freeze for at least 4 hours, or until firm.
- Scoop into bowls or cones, garnish with fresh strawberries, and enjoy!
No-Churn Strawberry Swirl Ice Cream (Alternative Method)
If you don’t own an ice cream maker, here’s how to make ice cream using the no-churn method:
- Whip 2 cups of heavy cream until stiff peaks form.
- In a separate bowl, mix 1 can (14 oz) sweetened condensed milk with 1 teaspoon vanilla extract.
- Gently fold the whipped cream into the condensed milk mixture.
- Pour half into a container, swirl with strawberry sauce, then repeat with the remaining mixture.
- Freeze for at least 6 hours before serving.
This no-churn method results in a rich, creamy texture without special equipment.
Helpful Tips for the Best Homemade Ice Cream
- Chill Your Ingredients – Cold cream and milk whip up better and produce smoother ice cream.
- Don’t Over-Swirl – Too much mixing will turn your strawberry swirl into pink ice cream. For the best visual effect, swirl lightly.
- Layer Carefully – Adding the sauce in layers ensures an even distribution of strawberry flavor.
- Use Ripe Strawberries – The sweeter and juicier the strawberries, the better your swirl will taste.
- Freeze Properly – Cover with plastic wrap before sealing the container to prevent ice crystals from forming.
Flavor Variations
Once you master Strawberry Swirl Ice Cream, you can experiment with endless variations:
- Chocolate Strawberry Swirl – Add a layer of chocolate fudge along with the strawberry swirl.
- Berry Medley Swirl – Mix strawberries with blueberries or raspberries for a mixed-berry twist.
- Cheesecake Strawberry Ice Cream – Add chunks of cheesecake or cream cheese frosting for richness.
- Nutty Delight – Sprinkle in chopped almonds or pistachios for a crunchy texture.
Serving Ideas
- Serve in sugar cones or waffle bowls.
- Top with whipped cream and extra strawberry sauce.
- Pair with freshly baked brownies or shortcake.
- Create an ice cream sundae bar at your next party.
- Blend into a milkshake for a refreshing twist.
Approximate Nutritional Value (per 1/2 cup serving)
- Calories: 210
- Fat: 12 g
- Carbohydrates: 22 g
- Sugars: 20 g
- Protein: 3 g
- Calcium: 8% DV
- Vitamin C: 25% DV (from strawberries)
Values may vary based on portion size and ingredients.
Why Homemade Ice Cream Beats Store-Bought
- Control Over Ingredients – No preservatives or artificial colors.
- Better Taste – Fresh strawberries and real cream deliver unbeatable flavor.
- Customizable – Adjust sweetness, texture, and mix-ins to your preference.
- Fun Activity – Making ice cream at home is a fun family project.
- Healthier Options – Choose organic dairy, natural sweeteners, or reduced sugar if desired.
Frequently Asked Questions (FAQ)
1. Can I use frozen strawberries instead of fresh?
Yes, just thaw and drain them before cooking.
2. How long does homemade ice cream last?
Up to 2 weeks in an airtight container, though best enjoyed within the first few days.
3. Can I make it dairy-free?
Absolutely! Substitute coconut cream and almond milk for dairy-free alternatives.
4. Do I need to strain the strawberry sauce?
Not necessarily, but straining creates a smoother swirl without seeds.
5. How do I prevent ice crystals?
Keep the container sealed tightly and press a piece of plastic wrap directly onto the ice cream’s surface before freezing.
Conclusion: Make Your Summer Sweeter with Homemade Strawberry Swirl Ice Cream
Homemade ice cream is more than just a dessert — it’s an experience. Crafting this Strawberry Swirl Ice Cream from scratch allows you to enjoy the freshness of ripe strawberries, the creaminess of real dairy, and the satisfaction of creating something beautiful with your own hands.
Whether you follow the classic churned method or the quick no-churn alternative, the result will always be a smooth, fruity, and refreshing treat that outshines anything store-bought.
So, the next time you crave ice cream, skip the freezer aisle and whip up this delightful recipe instead. Your family and friends will thank you, and you might just discover your new favorite flavor.
